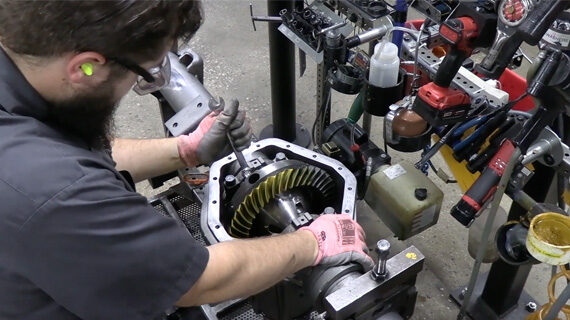
While JASPER performs several quality checks throughout the entire differential remanufacturing process, three specific checks during the final inspection set us apart in providing a quality product to the customer. “Once the case is installed inside the housing, a marking compound is applied to the ring and pinion,” said JASPER Differential Division Manager Thom Ireland. “The ring and pinion are worked back and forth (see image above), then inspected to ensure the teeth are hitting the middle of the tooth, ensuring long life for the tooth and low noise for the customer.” Once the tooth contact pattern is set, the backlash is inspected to check the gap between where the teeth are hitting each other. “We’re looking for backlash between .005 and .008 on the dial indicator,” said Ireland. “If the backlash is too loose or tight, there’s a risk of premature failure on the gears, or there will be a risk of gear noise to the customer.” Finally, a backlash variation is checked in four spots on the ring gear. “We’re looking for a variation of .003 or less from the high to the low on that dial indicator,” said Ireland. Suppose the Associate cannot get the correct measurements during the final inspection. In that case, JASPER has multiple shims and spacers for all the stock numbers offered for our family of units. “The Associate can grab a shim and adjust the case within the housing or the pinion to get the needed specifications,” Ireland said. “If one of our stock shims does not work, we can grind that shim down to the correct thickness, which will give them the product they need.” For more information about the remanufactured differentials at Jasper Engines and Transmissions, call 800.827.7455 or log on to www.jasperengines.com.


